
Did you know that your garage door is more than just a hunk of wood or metal? Your garage door opening system is crafted of many moving parts that all work together to raise and lower your appliance. These parts include your tracks, rollers, cables, springs, and more. Every part of the opening system must be cared for properly if your garage door is going to work well. If something goes wrong with one part, it will cause issues with all of the other parts. This will eventually strain the entire system, resulting in costly damage and repairs. That is why it is important to take care of each individual component and take maintenance seriously.
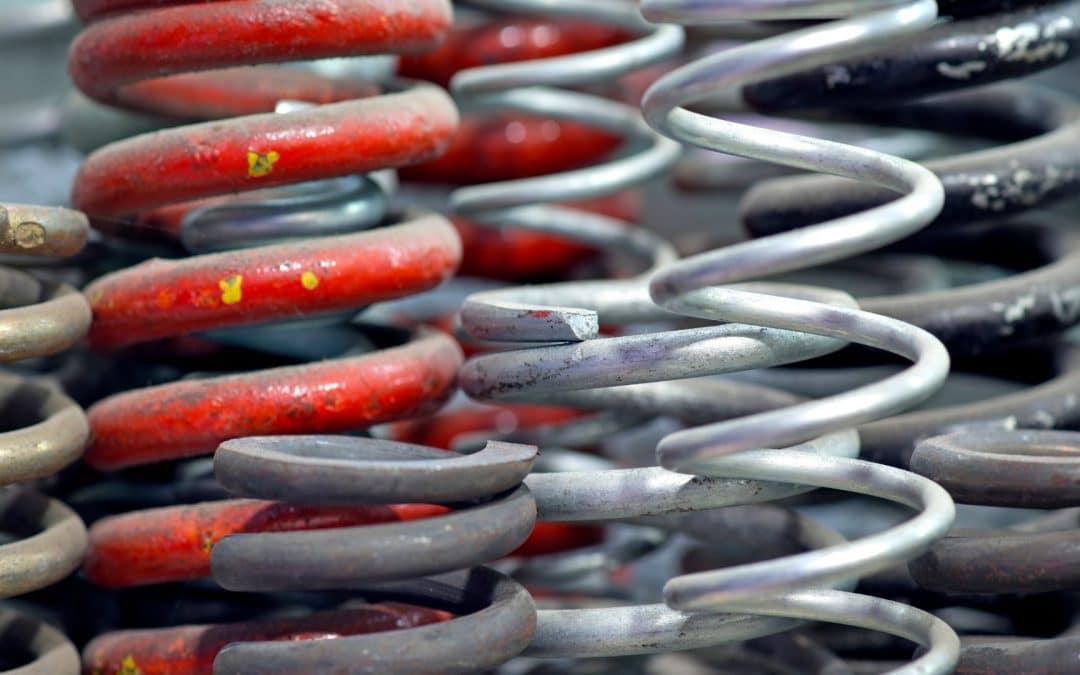
Your garage door springs, especially, require extra care. If you are reading this blog, you likely are having trouble with this component of your opening system. Perhaps one of your springs broke, or you have noticed signs of wear. Whatever the case, it is helpful to know how to replace garage door springs. Learn how to replace garage door springs and more with the help of our experts!
A Word of Warning Before You Dive In
We are happy to help homeowners become more independent and learn how to take care of their garage doors themselves. However, it would be irresponsible of us if we did not offer a word of warning about garage door springs. This part of your garage door may be dangerous to replace on your own. Springs are under an enormous amount of pressure and tension. That pressure is what helps balance the weight of your garage door. But it is also what makes them a hazard.
If you install a spring incorrectly or it snaps while you are working on it, it may cause an enormous amount of damage to both you and your property. It is not unheard of for a spring to cause lacerations, broken bones, and other serious injuries. That is why it is recommended to leave garage door spring replacement to professionals. This reduces the risk to yourself and to your garage. But if you are still determined to learn how to replace garage door springs yourself, here is how to do so:
How to Replace Torsion Springs
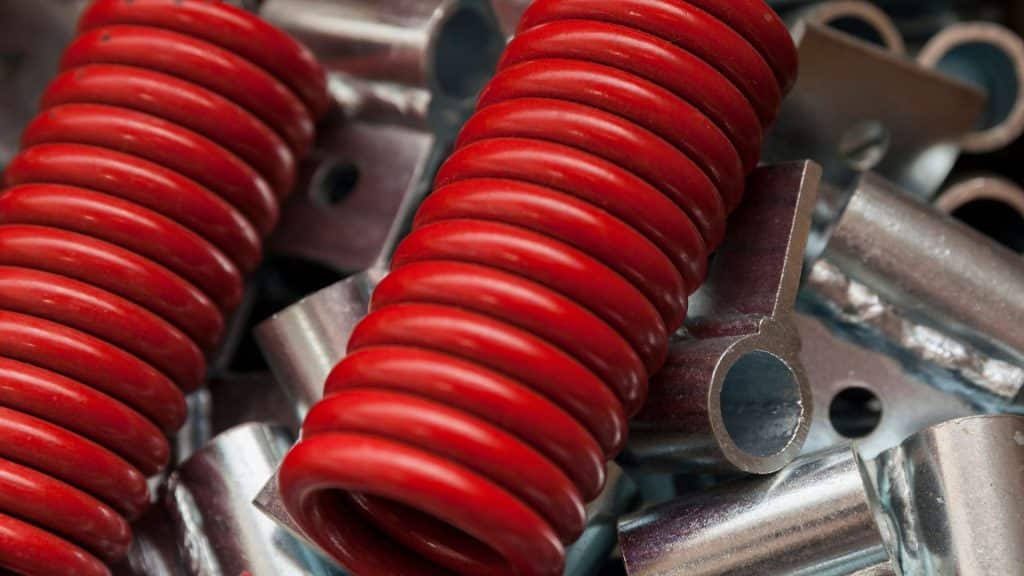
There are two types of garage door springs—torsion and extension. Torsion springs are the better option. They cost more, but they last longer and are safer. This is how you replace torsion springs:
1. Lock Your Garage Door
It is important that your garage door does not move while you are working on it. Close it and then use C-clamps to hold it in place. Make sure you turn off the garage door opener as well. Once you have your stepladder in place, climb up and position yourself beside the winding cones of your garage door springs.
2. Unwind the Old Springs
Using the appropriately-sized winding bar, start to unwind your old garage door springs. Hold the winding bar tightly, as the amount of pressure released from the springs will be strong. Unwind the springs until all of the tension is released. You will feel it when all of the tension is gone, as there will be no resistance as you unwind.
3. Disconnect the Old Springs
Now that the tension is gone, you can remove the old springs. They are connected to a mounting bracket. You can disconnect them with a wrench.
4. Detach the Cables and Remove Old Springs
Before you can add your new springs, you’ll need to detach the cables. Lock your torsion bar in place, then detach the cables and cable drums. Remove the cable drums to get access to the old springs. Slide them off.
5. Place the New Springs On
Now that the old springs are gone, you can replace them with new ones. Connect them to their mounting bracket and make sure that they are on the correct sides. Congrats! You’re almost done.
6. Reattach Everything
You worked hard to detach your cables and drums. But now you have to reattach them. Be careful to ensure everything gets placed back the way it was.
7. Wind and Anchor Your Springs
Remember how you unwound your springs? It’s time to do the opposite. Using the winding bar to tighten your new springs, make sure to turn the exact number of times that the manufacturer recommends. Once they’re tight, use a hammer to move the winding cone down one-fourth of an inch to stretch them.
8. Do the Final Touches
Now that your springs are in place, you can finish the job. Apply a garage door lubricant to the springs, then clean up. Make sure to remove the clamps from your garage door and reconnect the opener. Then you are ready to use your appliance again. Good job!
We Know How to Replace Garage Door Springs!
Hopefully, this blog can help you safely replace your torsion springs. However, we understand that this is a big job. It can be overwhelming trying to follow instructions and complete DIY jobs. If you do not feel comfortable performing this task yourself, rely on the team at Metal Garage Door Repair for assistance. Contact us today for garage door spring replacement!