
Do you know about the importance of garage door maintenance? Your garage door needs regular care, or else it will not function properly. It then becomes a safety hazard. This is especially true if you neglect your garage door springs. Your garage door springs can become dangerous if not cared for and maintained properly. That is because this component of your garage door opening system is under a lot of tension. Thus, when your springs snap, they can whip back with tremendous force, harming anything that gets in their path. When your garage door springs snap, they may break windows and other parts of your appliance. They can also cause serious injury to anyone standing nearby, resulting in serious injuries like lacerations and broken bones.
If you want to avoid accidents and injuries, it is important to replace your garage door springs when they show signs of wear. But how do you know when they need to be replaced? And how do you replace garage door springs? Keep reading our blog to learn how to replace garage door springs and more.
How to Know When to Replace Extension Springs
Are you wondering whether it is time to replace your extension springs? It is not hard to tell when this part of your opening system needs attention. You just need to learn the signs. Here are three signs that your extension springs need replacement:
1. Your Garage Door Is Off Balance
Springs help balance the weight of your garage door, which can weigh up to three hundred pounds. Thus, when they are not working properly, your garage door will become unbalanced. You might notice it leaning to one side when opening or closing.
2. Your Garage Door Is Making Strange Noises
Garage doors are naturally noisy. But not all noises are normal. If you are hearing new, strange noises or excessive squeaking, something is likely wrong with your springs.
3. Your Garage Door Won’t Move
Is your garage door stuck in an open or closed position? The culprit might be the garage door springs. If your springs fail, then your garage door cannot move properly.
Have you noticed any of these problems? Stop using your appliance immediately to prevent the problem from becoming worse. Then learn how to replace garage door springs using our guide.
A Word of Caution
It is possible to replace your garage door springs by yourself. However, that does not mean it is a good idea. Because springs are under a lot of pressure, if you make a mistake while removing or replacing them, you could get hurt. If you have any doubts that you can replace them safely, it is better to hire a professional. But if you feel confident that you can perform this task yourself, keep reading to find out the steps to replacing extension springs.
Steps to Learn How to Replace Garage Door Springs
So you want to learn how to replace garage door springs? Allow us to help. Here are the steps you need to know:
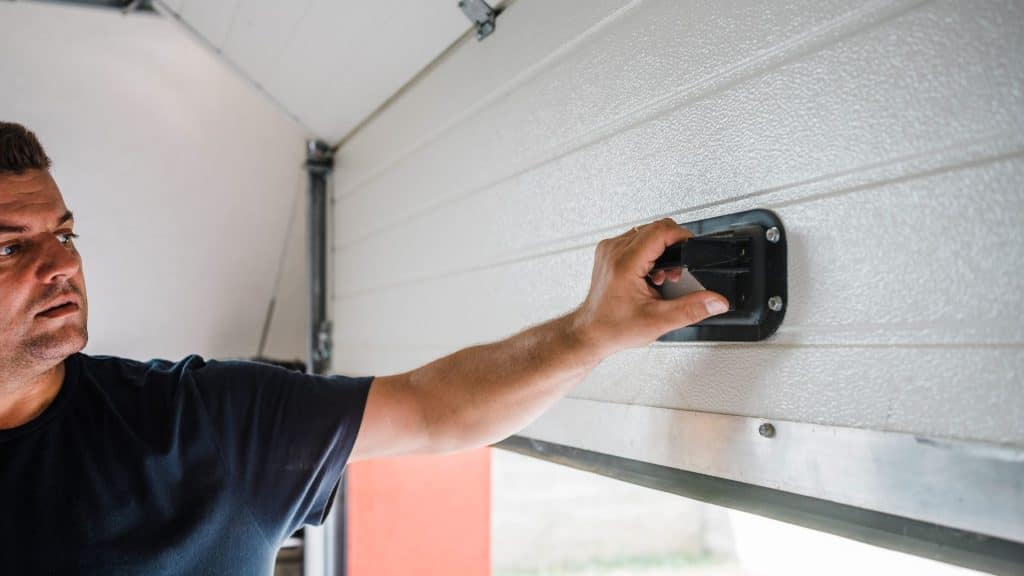
1. Get Your Garage Door Ready
After you’ve purchased your ga rage door springs, you need to prepare your garage door. Open your appliance to its limits. Then secure it with two C-clamps to prevent it from sliding down while you change the springs. You should disconnect your opener as well.
2. Disconnect Your Old Springs
Your old springs are mounted to a bracket. Locate where they are connected. Then detach them from the bracket. At this point, you will not be able to remove the springs just yet.
3. Disconnect the Cables
Your garage door cables and drums will be blocking your extension springs. That is why you need to disconnect them. Once your lift cables are disconnected, remove them from their pulley. You will also need to disconnect the safety cables inside your old springs.
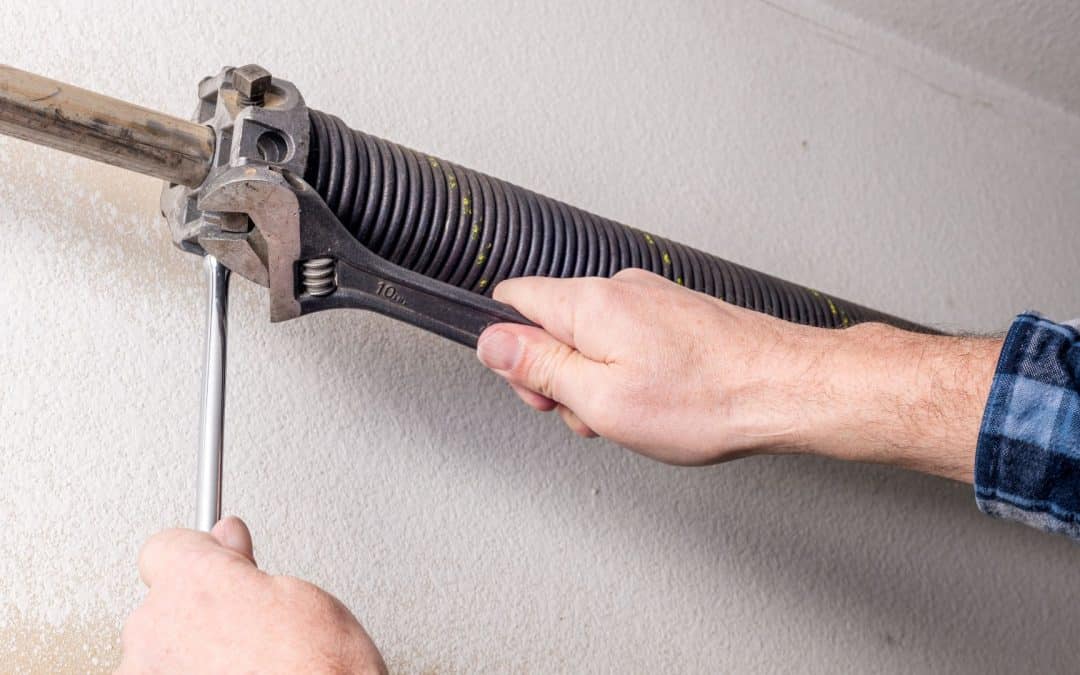
4. Remove Your Old Springs
Now that everything is disconnected, you can remove your old springs. Pull off one, then the other. Be careful as you do so.
5. Reattach Everything
Now that your new cables are on, you’ll need to reconnect everything. Start with the safety cables, then the lift cables. Finally, perform the final attachment for the extension springs. Place a small amount of pressure on the springs to stretch them about one to two inches.
6. Perform Final Touches
You’re almost done. Now you just need to perform the final touches. Apply a little lubricant to your new springs, remove the clamps from your garage door, and reconnect your opener. Move your garage door up and down a few times to ensure that the springs are doing their job and do not need to be adjusted. Then you’re good to go!
We Can Replace Garage Door Springs!
Thanks to our guide, you should have been able to learn how to replace garage door springs. Extension springs are not hard to replace, especially when compared to torsion springs. But sometimes, performing DIY projects can be overwhelming. If you do not feel comfortable replacing your springs yourself, you can rely on our team. Contact Metal Garage Door Repair today for assistance!